1 min read
iOS – Floorplan Layout View
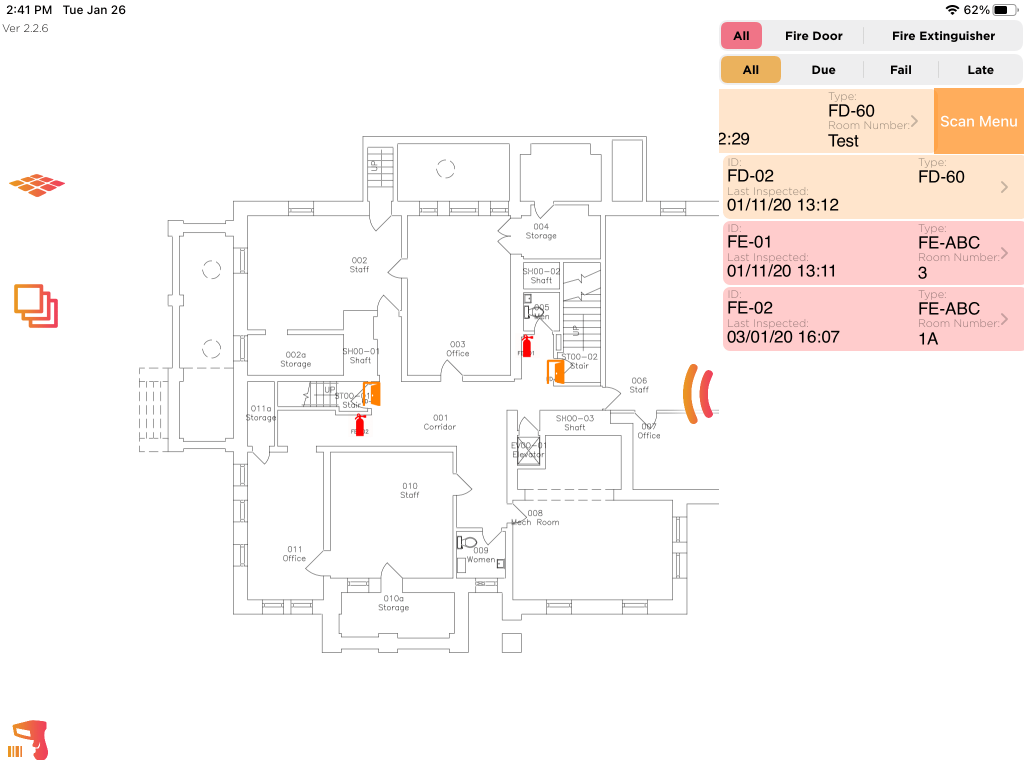
The Floorplan Selection screen displays assets (ex: fire extinguishers, fire doors, ladders, tools, etc.). The floorplan is interactive and can be stretched and moved with gestures (pinching or sliding) to best suit your needs. Tapping an asset will highlight it in the Asset Table, where it can then be selected.
Floorplan Selection
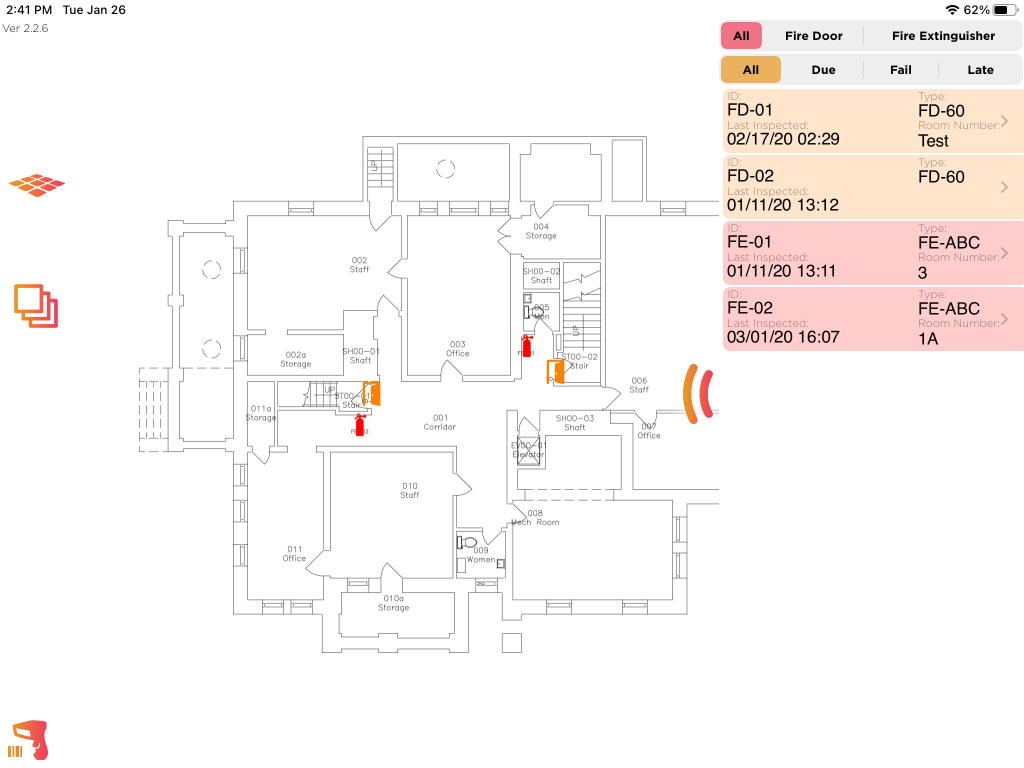
The Floorplan Selection menu allows you to load different floorplans. Selecting “Load” will load in the floorplan and assets immediately from the Mission cloud.
Note: The floorplans available to you are determined by your administrator.
Asset Table
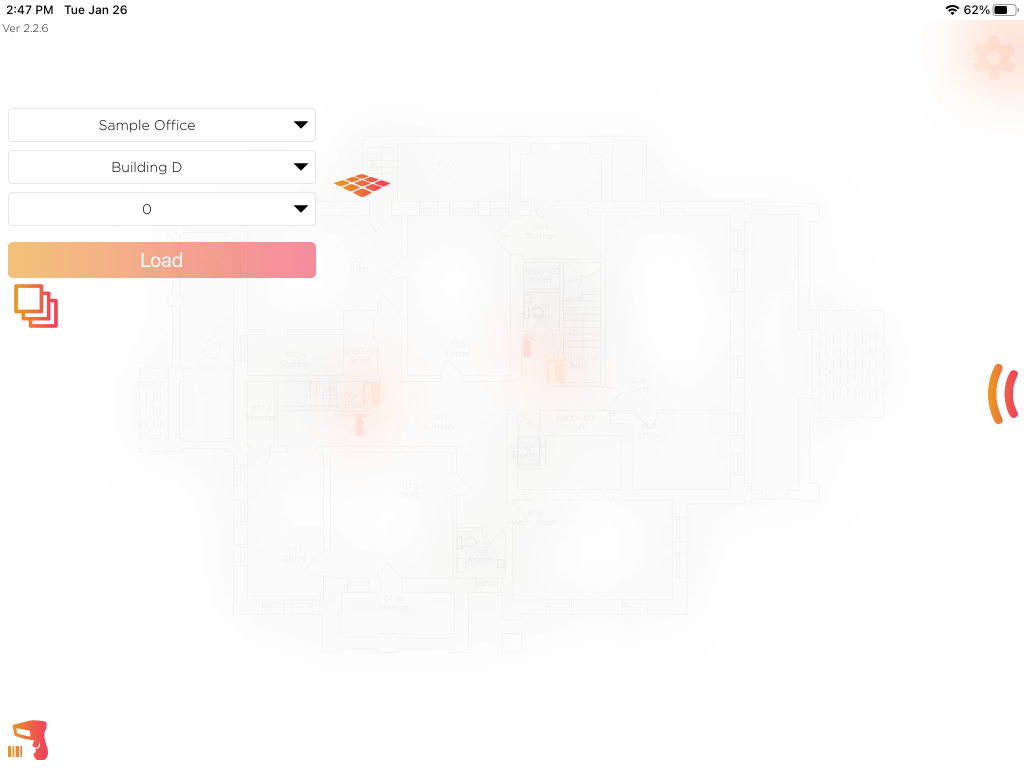
The Asset Table contains a list of assets for the selected floorplan. These assets are displayed in a color-coded fashion. The color displayed represents the most recent inspection action. These color codes are determined by an Administrator.
Color codes are typically setup as follows:
- Red – An asset has failed inspection or is late (overdue) for inspection.
- Orange – An asset inspection is due within 7-14 days.
- Green – An asset has passed the last inspection and is not due.
- Blue – An asset does not have inspection history.
Note: This color code list is not all-inclusive. Please contact your Administrator or Mission Support for details on your company’s specific color-code guidelines.

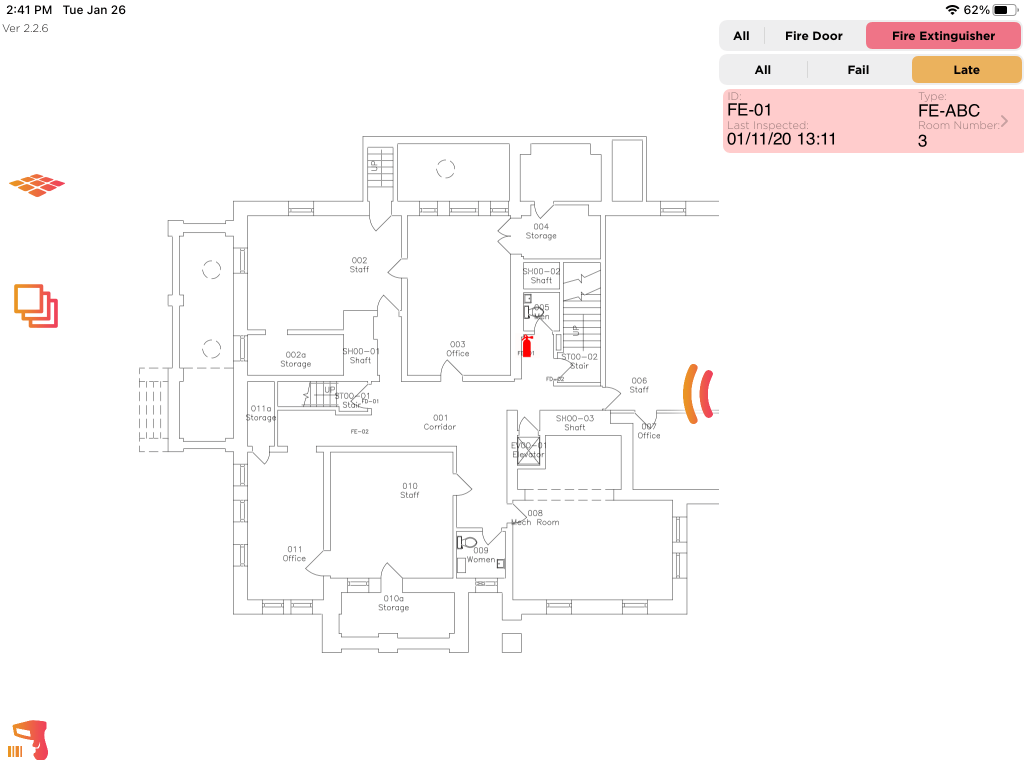
The Asset Table can be filtered utilizing the selectors on the top right.
Scan Menu
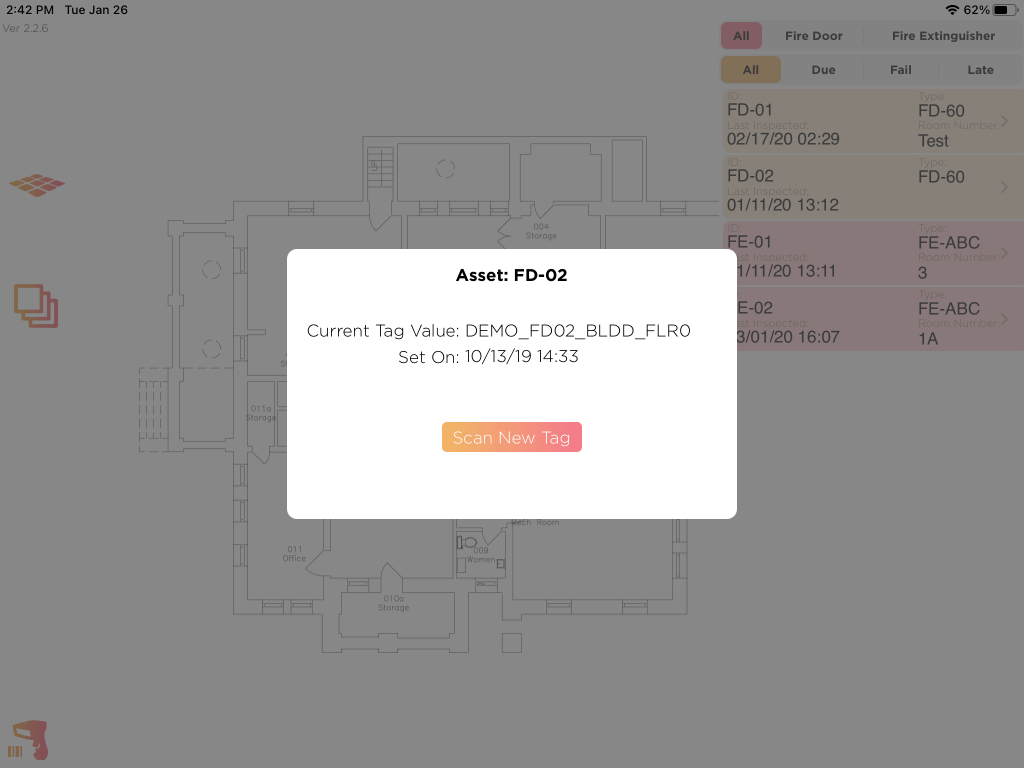
Swiping an Asset Table item to the left will reveal the Scan Menu.
With the Scan Menu open, the current assigned Asset Tag will be displayed, as well as the time it was assigned. Tapping “Scan New Tag” will allow you to replace the assigned tag.
Note: Mission QR Code Tags may only be assigned once. Should a tag be assigned by accident or require adjustment, please contact Support.
Scan Button
The Scan Button allows you to scan a Mission QR label, QR label, barcode, or NFC tag. If the scanned asset exists in your current Floorplan, the application will transition to the Asset Details screen for that asset. If the asset exists in another floorplan, a pop-up will ask you if you’d like to load that floorplan. This feature allows you to bypass the Floorplan Selection menu.
Note: Scanning an asset this way will bypass the need for an additional scan to reveal the Inspection Form.

Settings Button
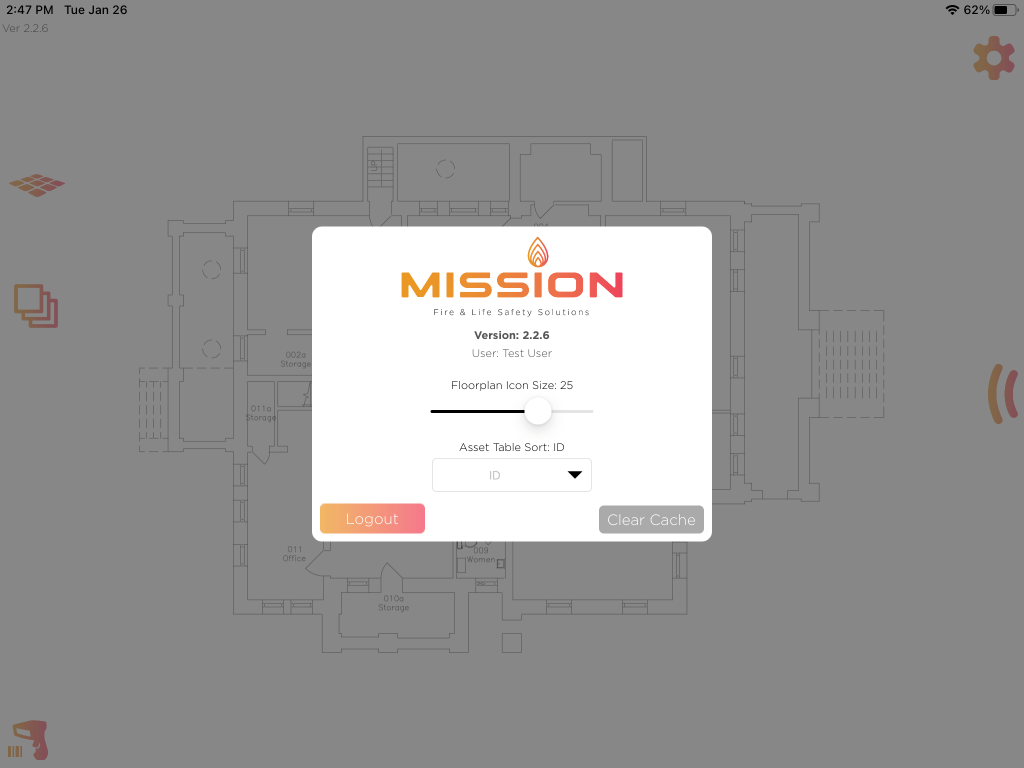
The Settings Button will open the Settings Menu. This menu offers varying features, some of which are listed below:
- Version Info – Mission software version
- User – Current logged-in user.
- Floorplan Icon Size – Adjust the size of Asset Icons.
- Asset Table Sort ID – Changes the sort order of the assets in the Asset Table.
- Clear Cache – Clears Inspection Forms that are saved on the device for offline access.
- Logout – Logs user out of the device and closes their session with the Mission Cloud.
Note: Your individual set of features may vary from this image. Features vary by customer. Please contact your administrator or Mission Support with questions.

The Settings Button is only visible with the Asset Table closed. Tapping the Asset Table button will hide it from view.

